How do we make a topographical diorama? Read on to see the process for the creation of “The Boys Are Still There,” our diorama of Little Round Top.
We start by reading a lot of books (or portions of books) and pinning down the point in time that we want to depict, the extent of the scene that we want to depict, the size of diorama that we can fit into the space we have, and details of the topography. For this diorama, we have topographical maps of the Gettysburg battlefield, so that helped!
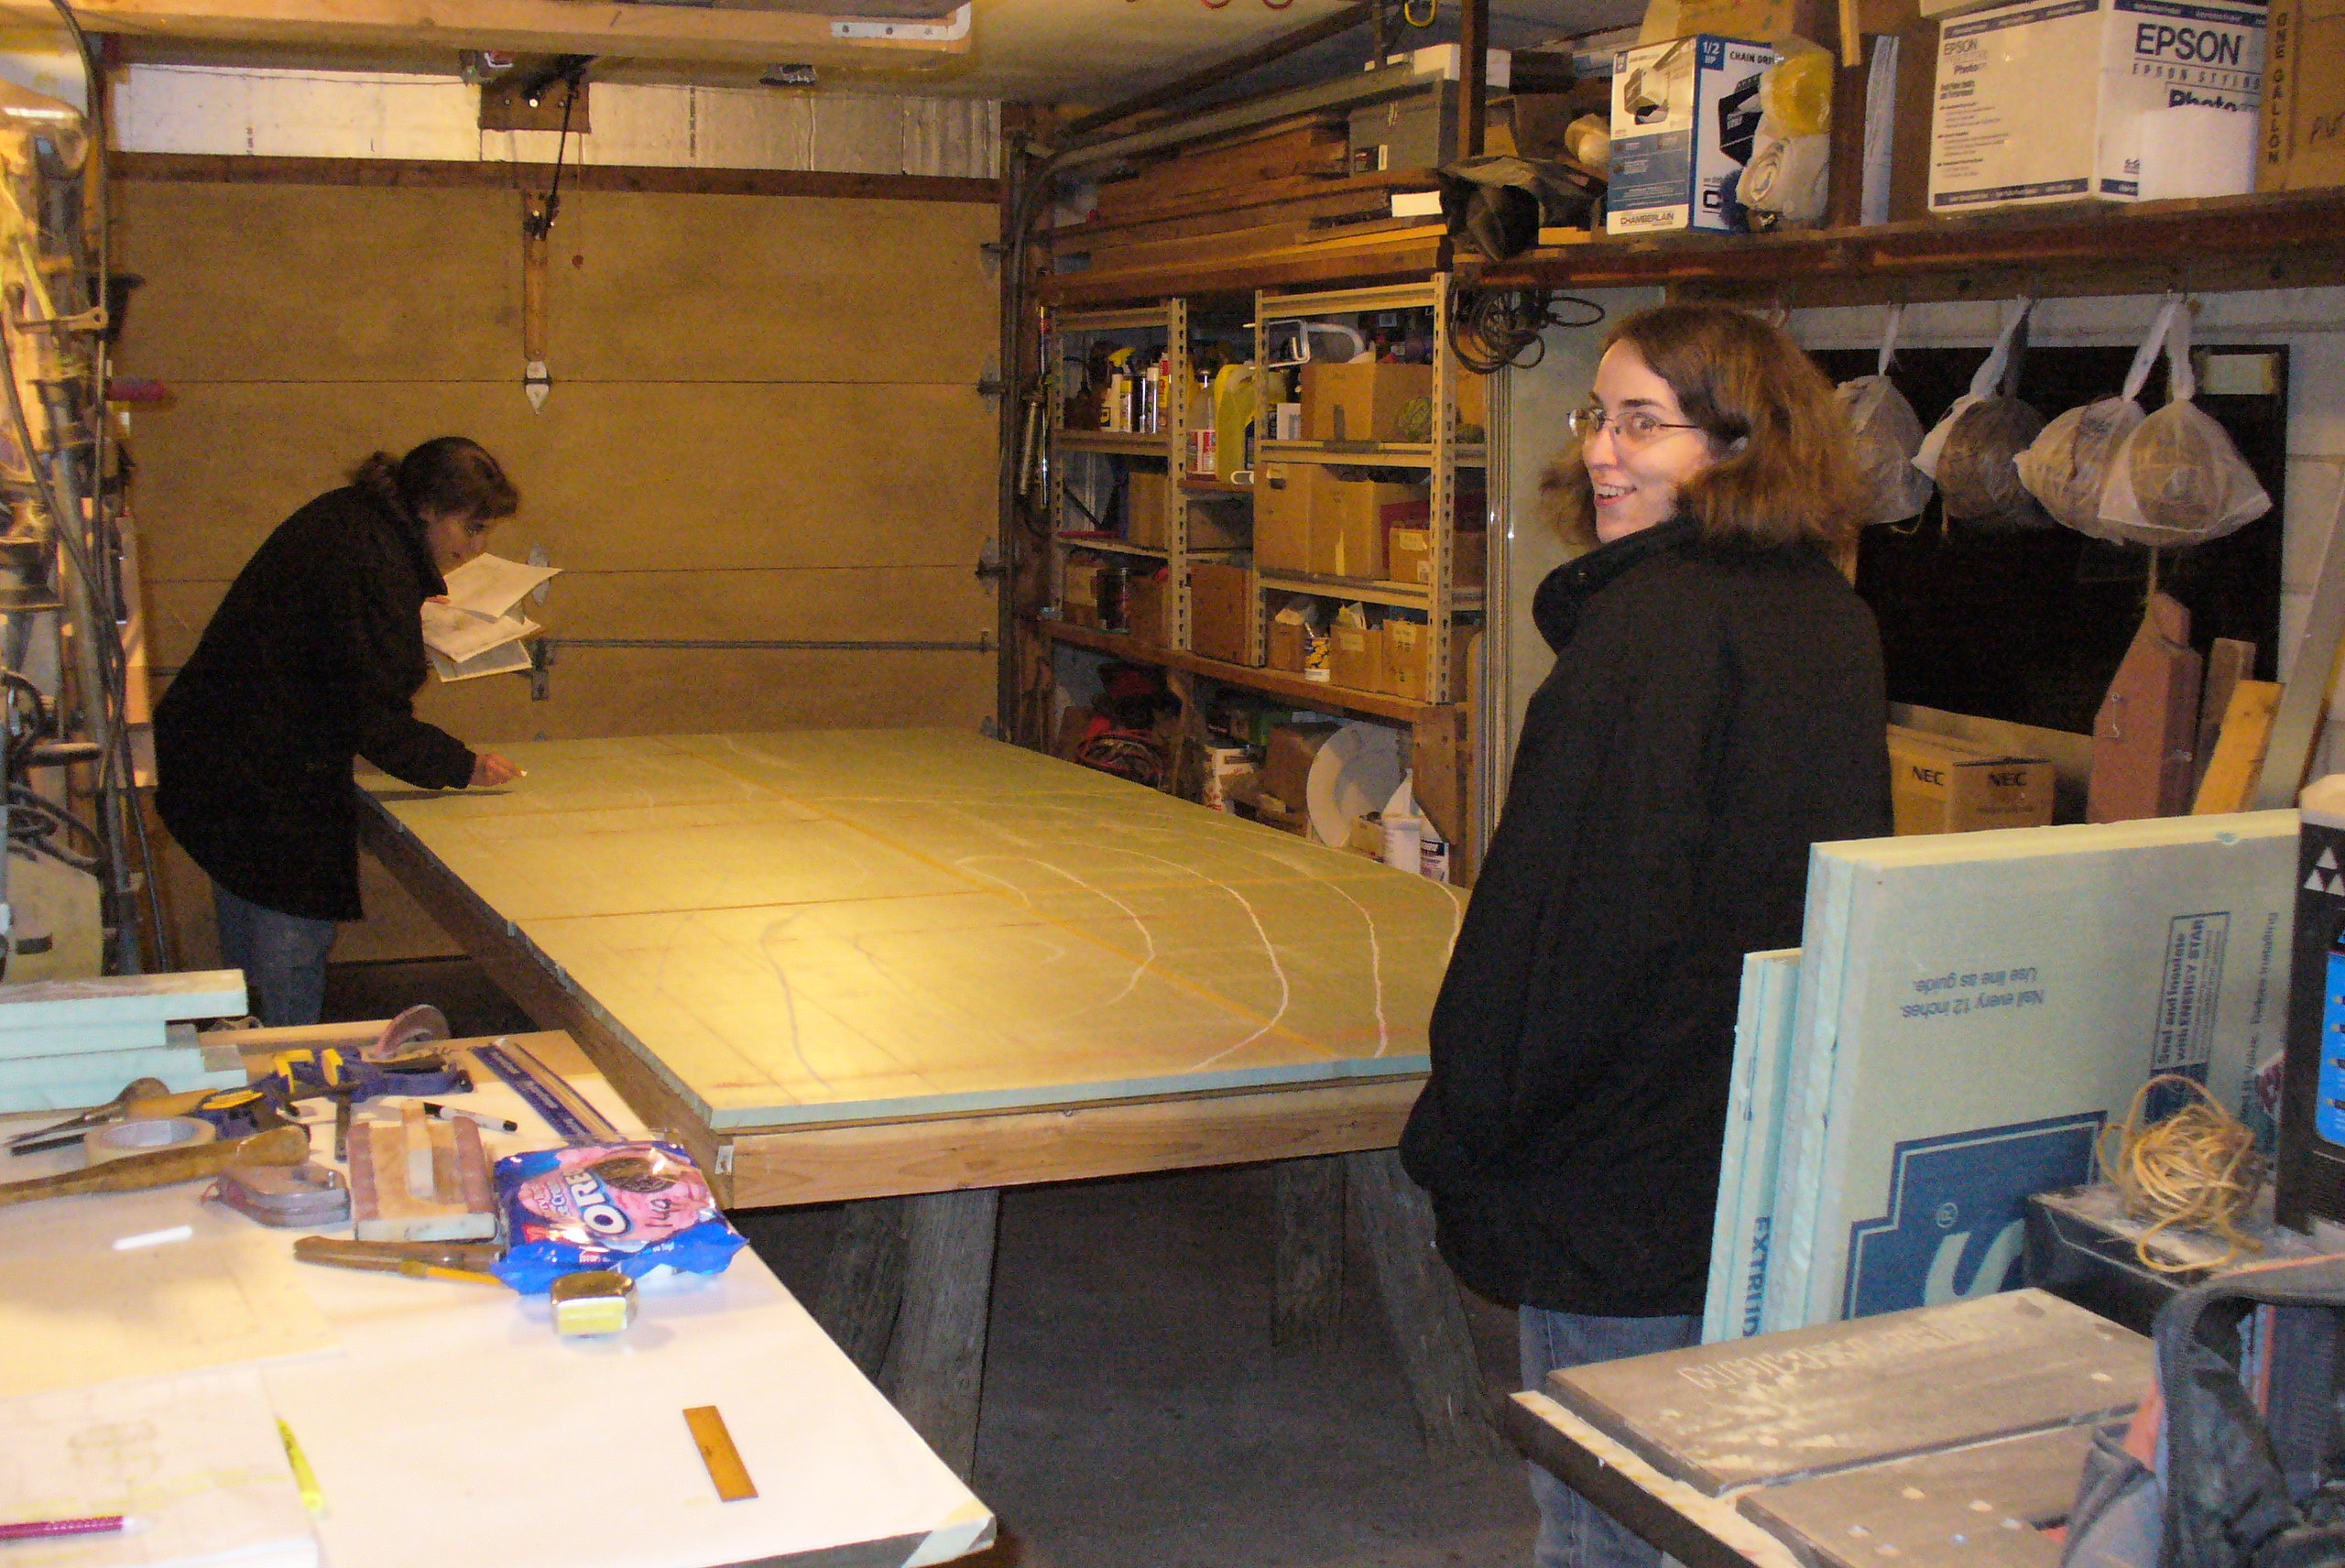
Then we decide what materials we’ll use. For an 11-foot-long diorama like Little Round Top, it needed to be lightweight materials. We make our dioramas in sections that can be carried through a doorway, so we don’t want to be lugging heavy stuff around. For such a big hill, we decided that foam insulation on a plywood base would be perfect.

We start by marking topography lines on the first layer of insulation. Coffee is a must! (or hot chocolate – it’s chilly in the garage)

Good music is a must, too! It occupies that other part of your brain that will go crazy otherwise (or maybe that’s just us).

More lines…everywhere. Where you can, figure out how to cut it so you can use the waste pieces for later layers – it saves materials! Here, we marked every other topographical line on one sheet of insulation, and then drew the other topographical lines on the other sheet of insulation, so that the pieces would overlap when put together and give us a surface to glue.

Rebecca’s the one who makes sure we’re doing it right. She has lots of maps and calculations.
Getting there!

Now, to put the layers together with spray adhesive. Don’t forget the blocking underneath, or they’ll collapse!


Col.Chamberlain hasn’t been painted yet, but he has to check this out and make sure we’re doing it right.


Here’s what it looks like underneath.

Aaaaand, it’s done! Well, that step of it, anyway.
Next, we scraped and sanded down the layers to make smooth transitions between them.


You don’t really want to breathe that stuff! (No, we don’t know what it would do, but we figure it wouldn’t be good.)
Then we spread plaster cloth overtop to give the insulation a little protection. We kind of ran out just at the end, so there’s one part of the diorama that is not covered. That’s the green foam insulation you see there.

As you can see, the next step was to form and place the rocks. Rebecca did this using photos from the 1860s and 1880s, aerial shots from online sources, and photos we took on-site. Rebecca counted up the rocks on our diorama – 2,600! She made every one of them out of air-drying DAS clay (Ruth made trees instead). The rocks above are glued down with regular Elmers glue, but have not been painted yet. Which takes us to the next step!
Rebecca applied a wash of watered-down black acrylic paint to the rocks to make them gray. It also runs into the crevices and gives them a stone look.

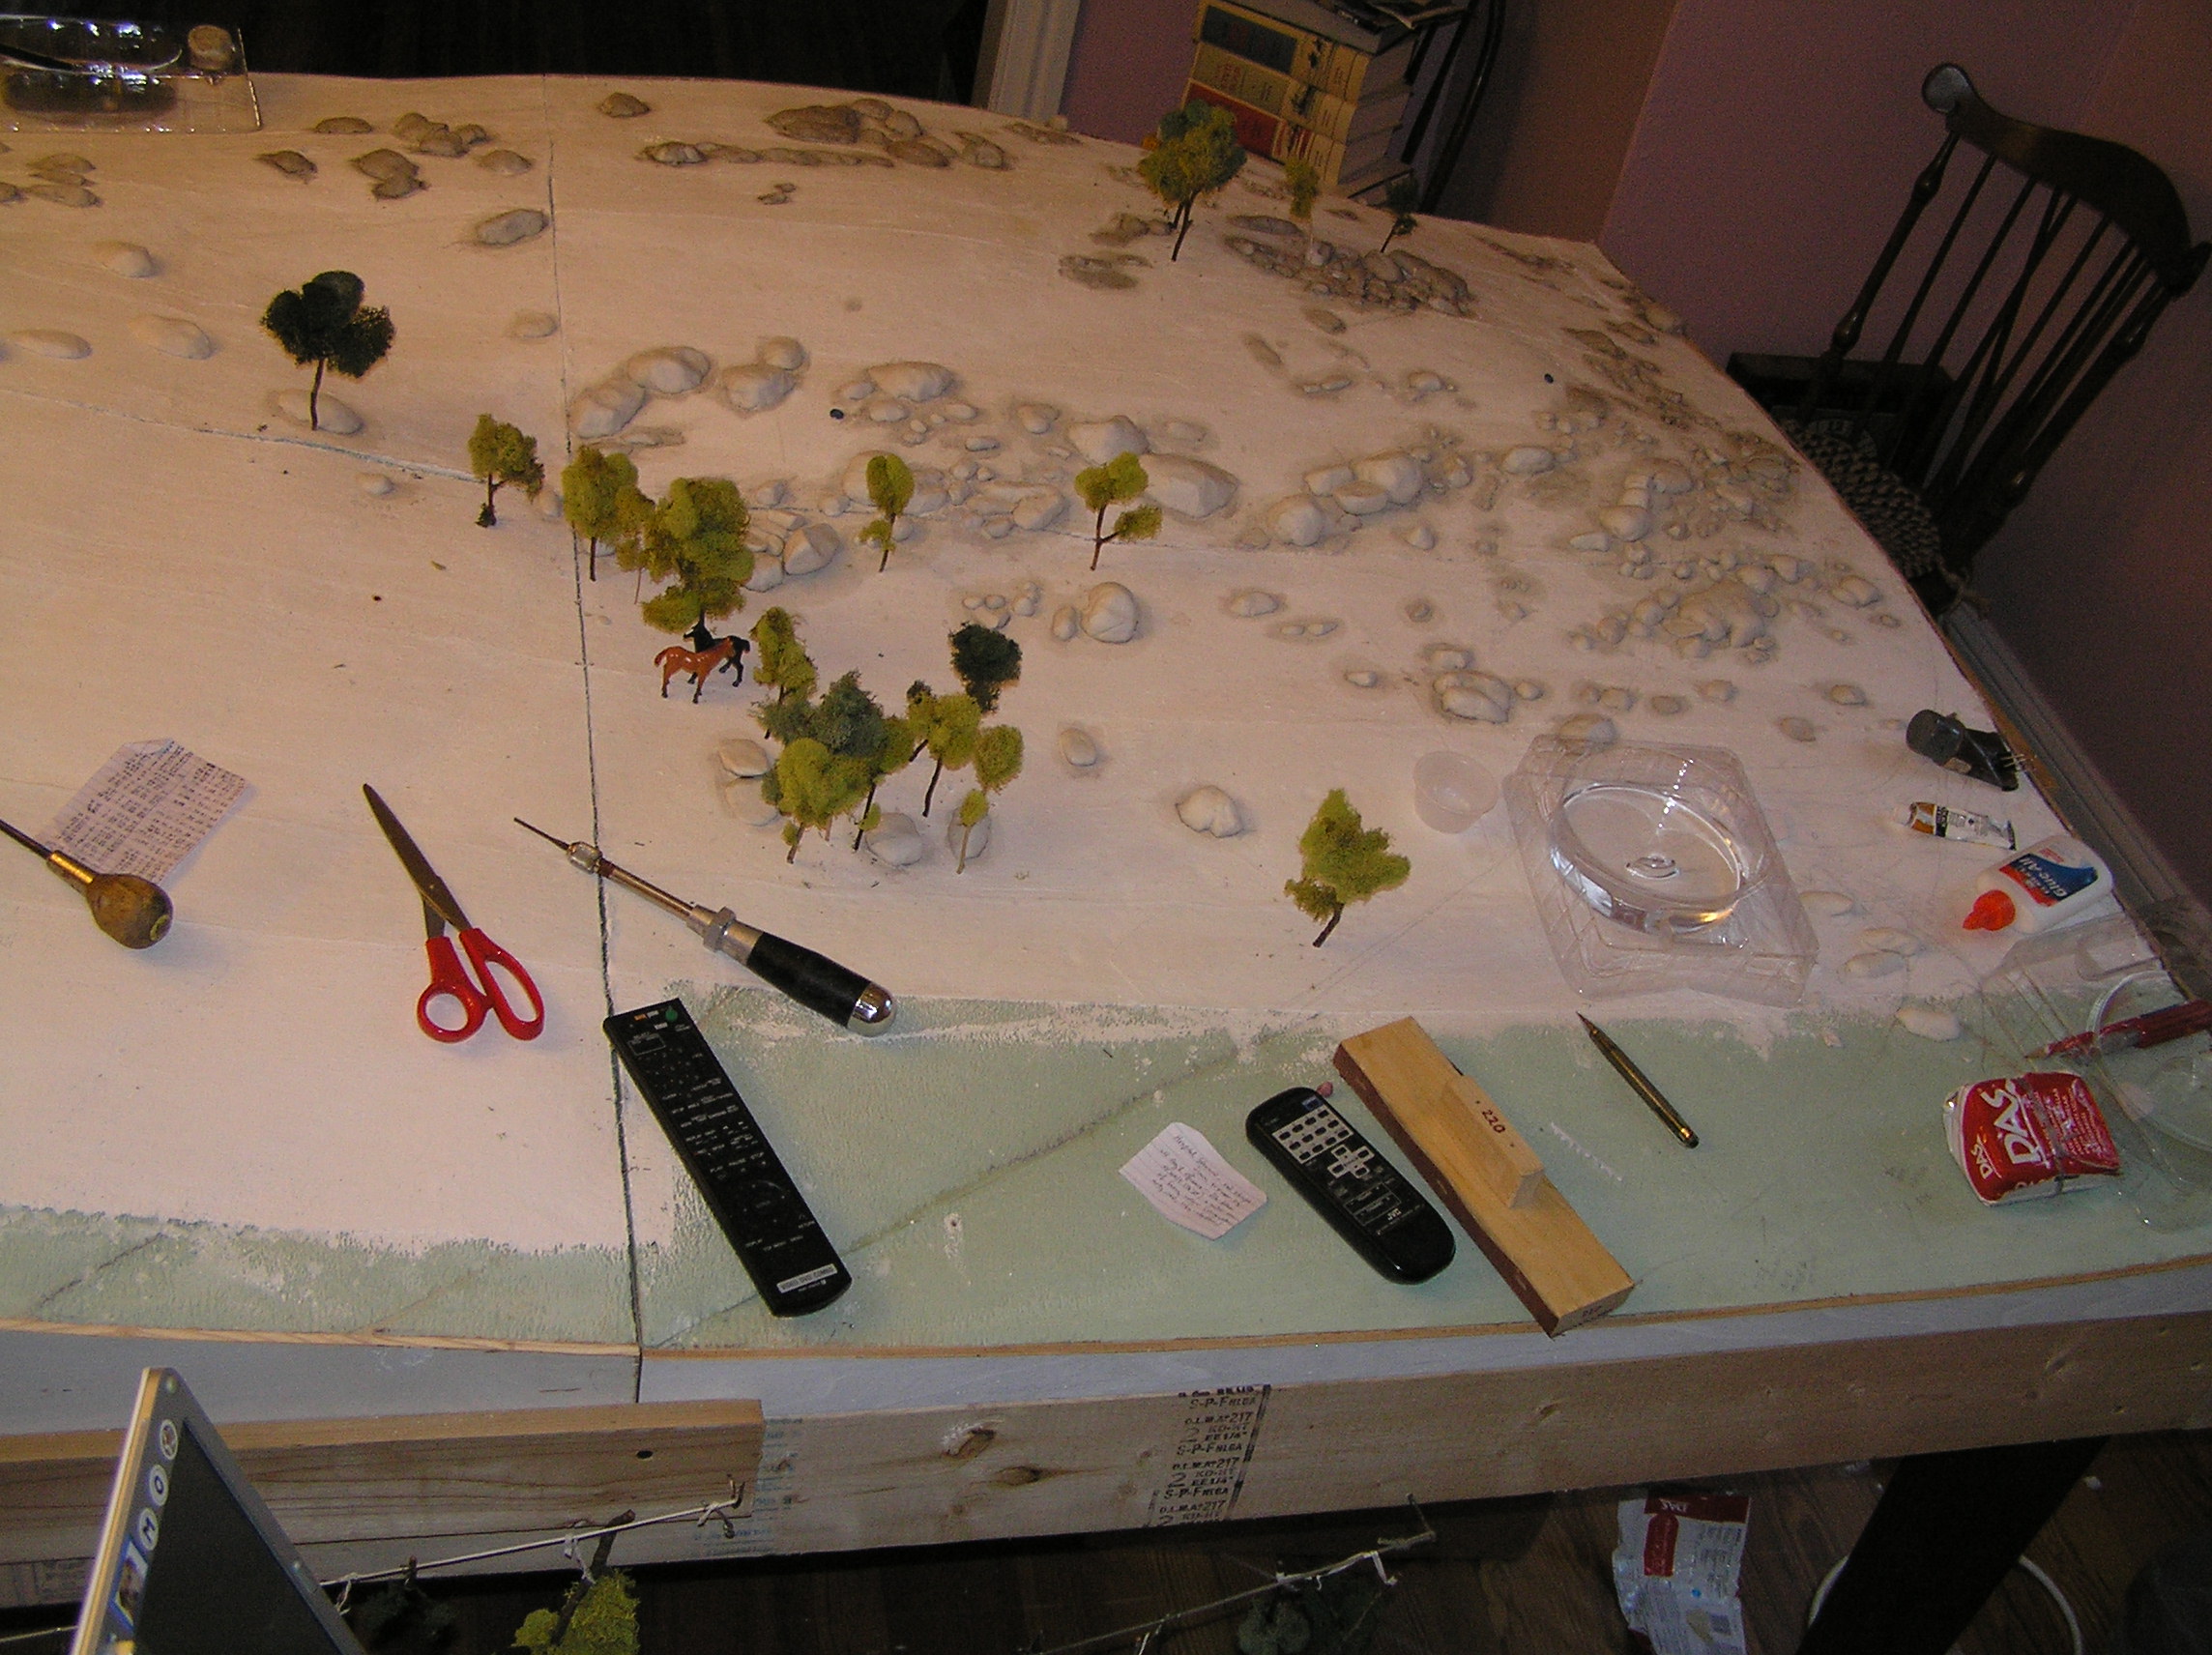
In the picture above, you can just see the trees we hung off of strings along the bottom of the diorama to finish drying. We also had trees hanging from the chandelier in our dining room!
Making rocks gets tedious after a while, so a TV running old westerns or TV shows in the background helps! Next to the VCR remote is our awl for installing trees (oops, I’m getting ahead of myself).
Here’s how the rocks turn out:

The debris on the rocks comes from the next step…it’s kind of accidental, but OK when the rocks are under trees and subject to falling leaves.
The next step is to spray a 50/50 Elmers glue/water mix in small patches and shake on the ground cover. We use an old black pepper container to shake the ground cover on, and then fill in around the trees and rocks, using pinches of ground cover held in square-tipped tweezers.
Here’s Ruth putting down the mix of the Woodland Scenics “turf” that we use as the base coat. She’s in the tweezers stage, here.
For this diorama, we then applied tea from used tea bags to represent fallen leaves and other debris under the trees. After putting down all of the ground cover, we spray another layer of the 50/50 glue mix to anchor it all down.
We threw on some gravel for the smaller rocks scattered about, too, resulting in this:

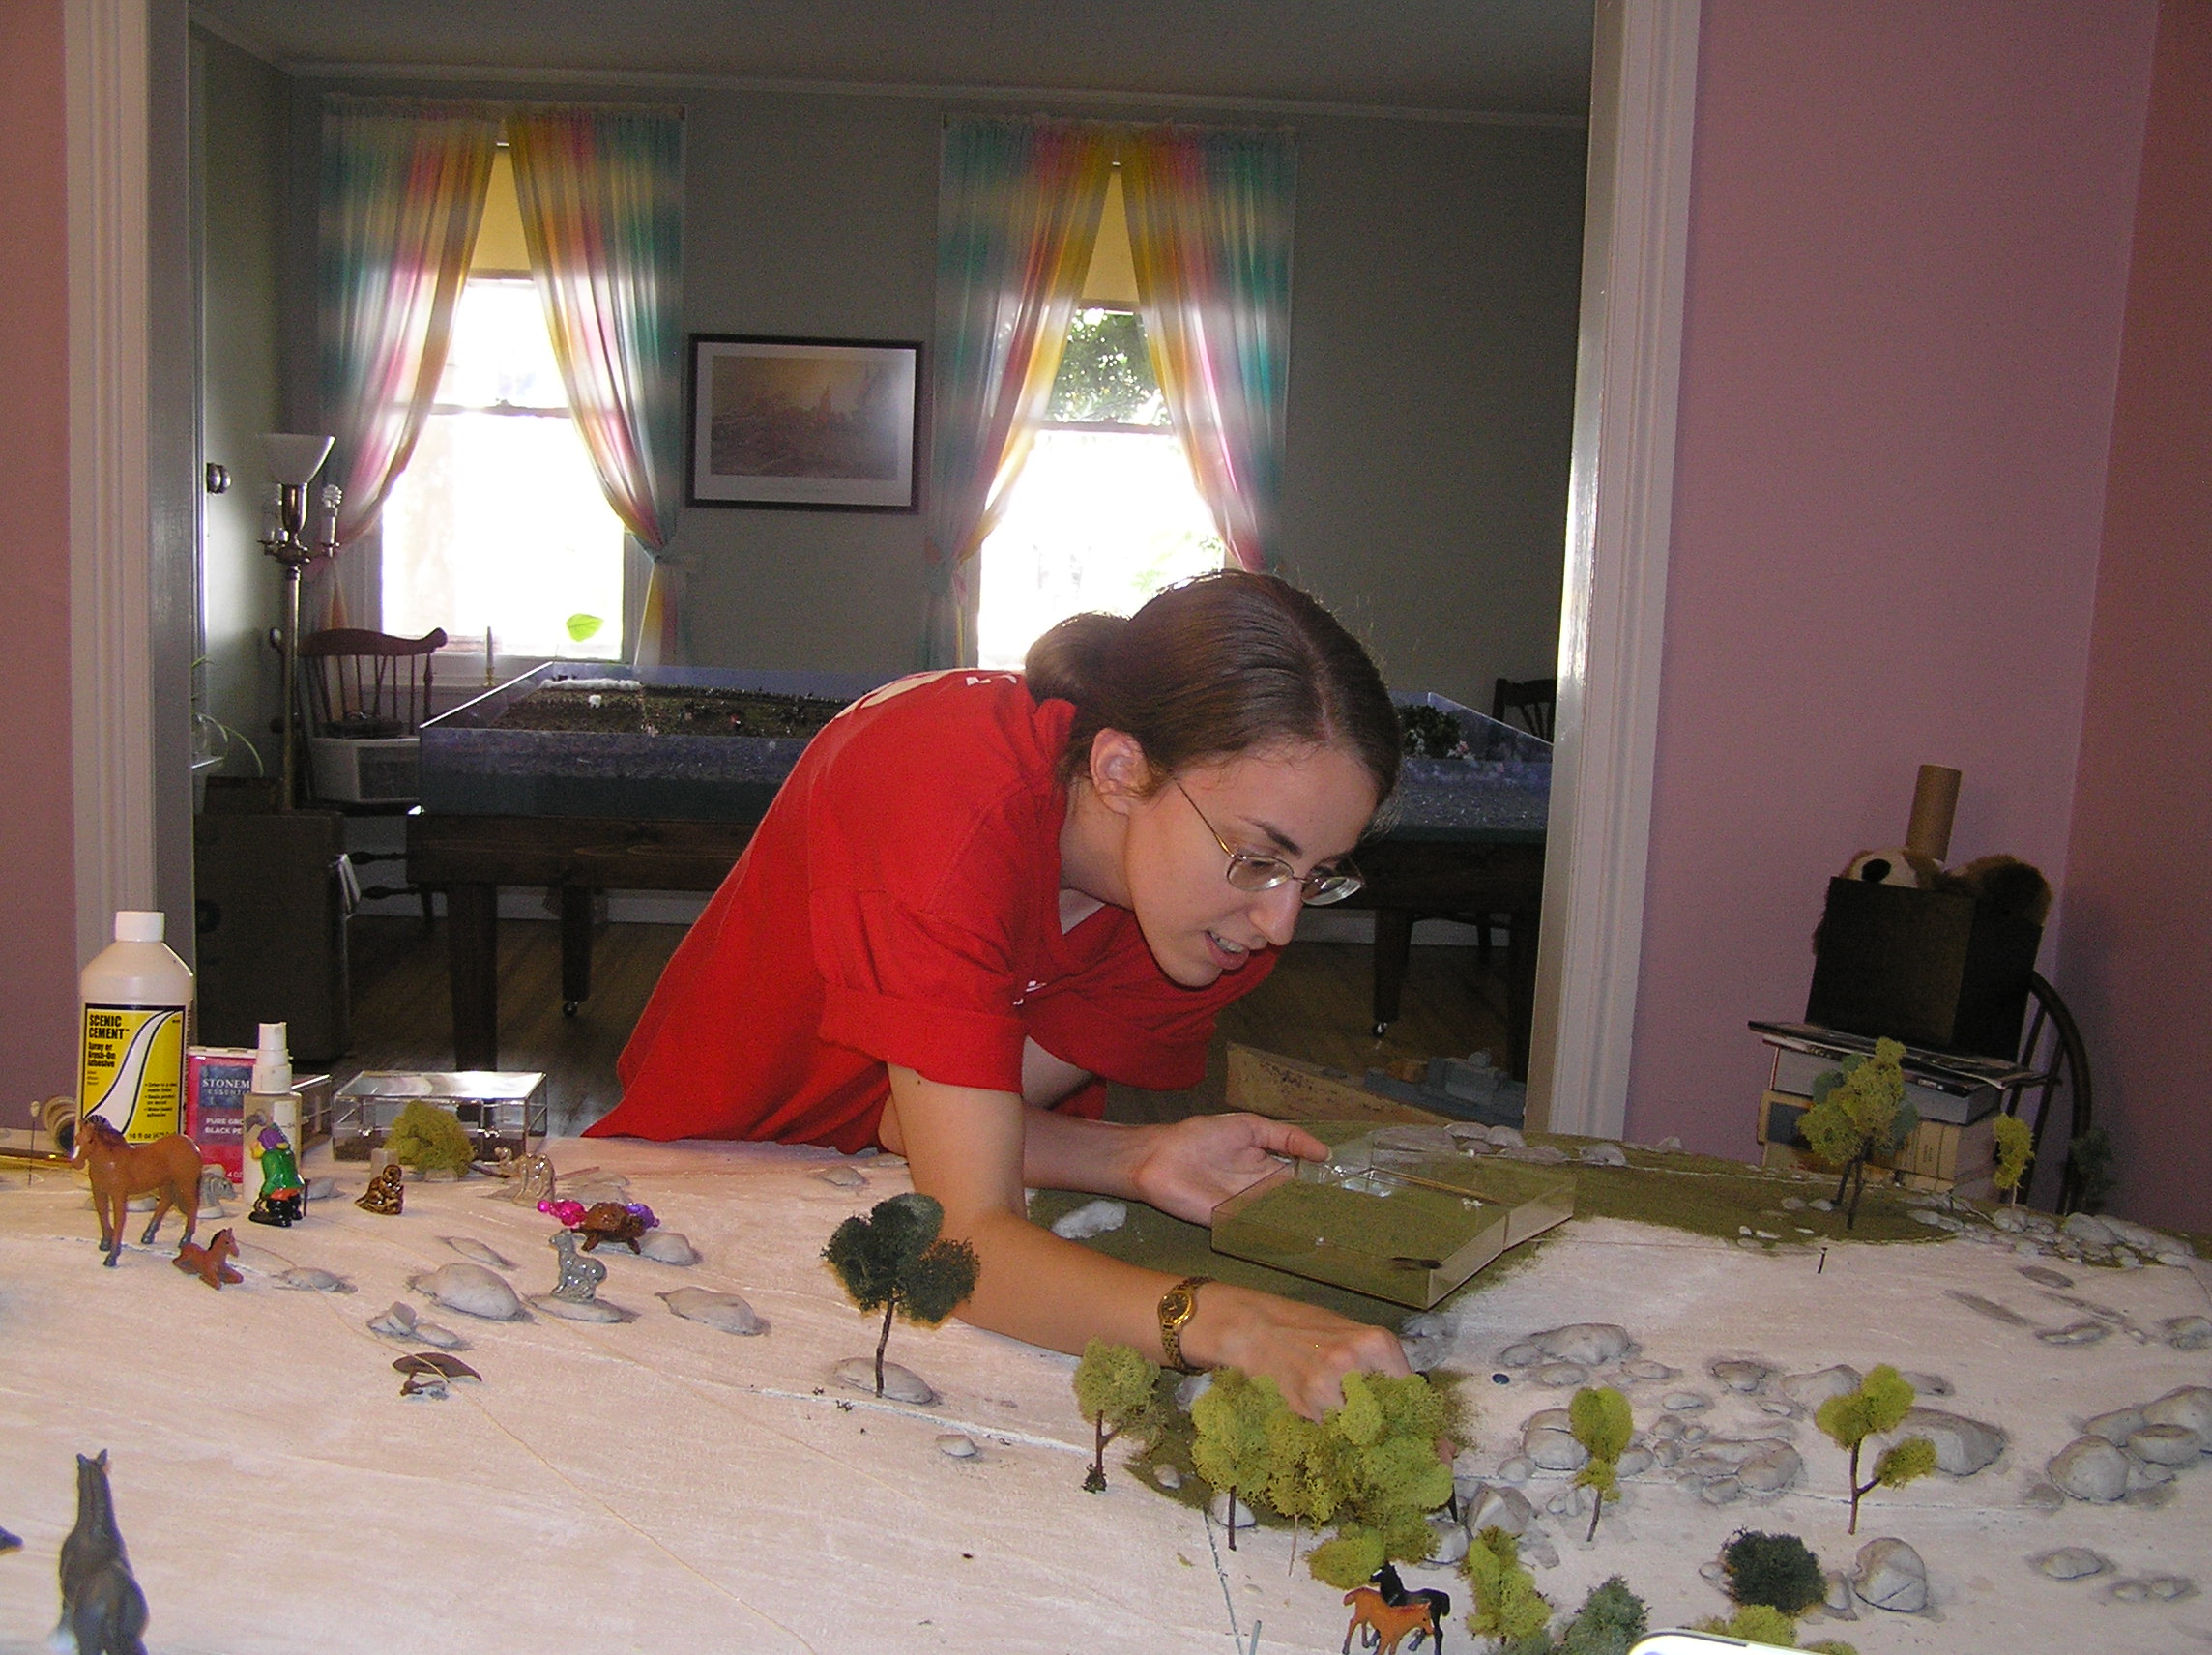
Sometimes, we have help from some of our other friends…Chee Chee the stuffed cheetah, some model horses, and even a couple of Ford Mustangs came to help, this time:
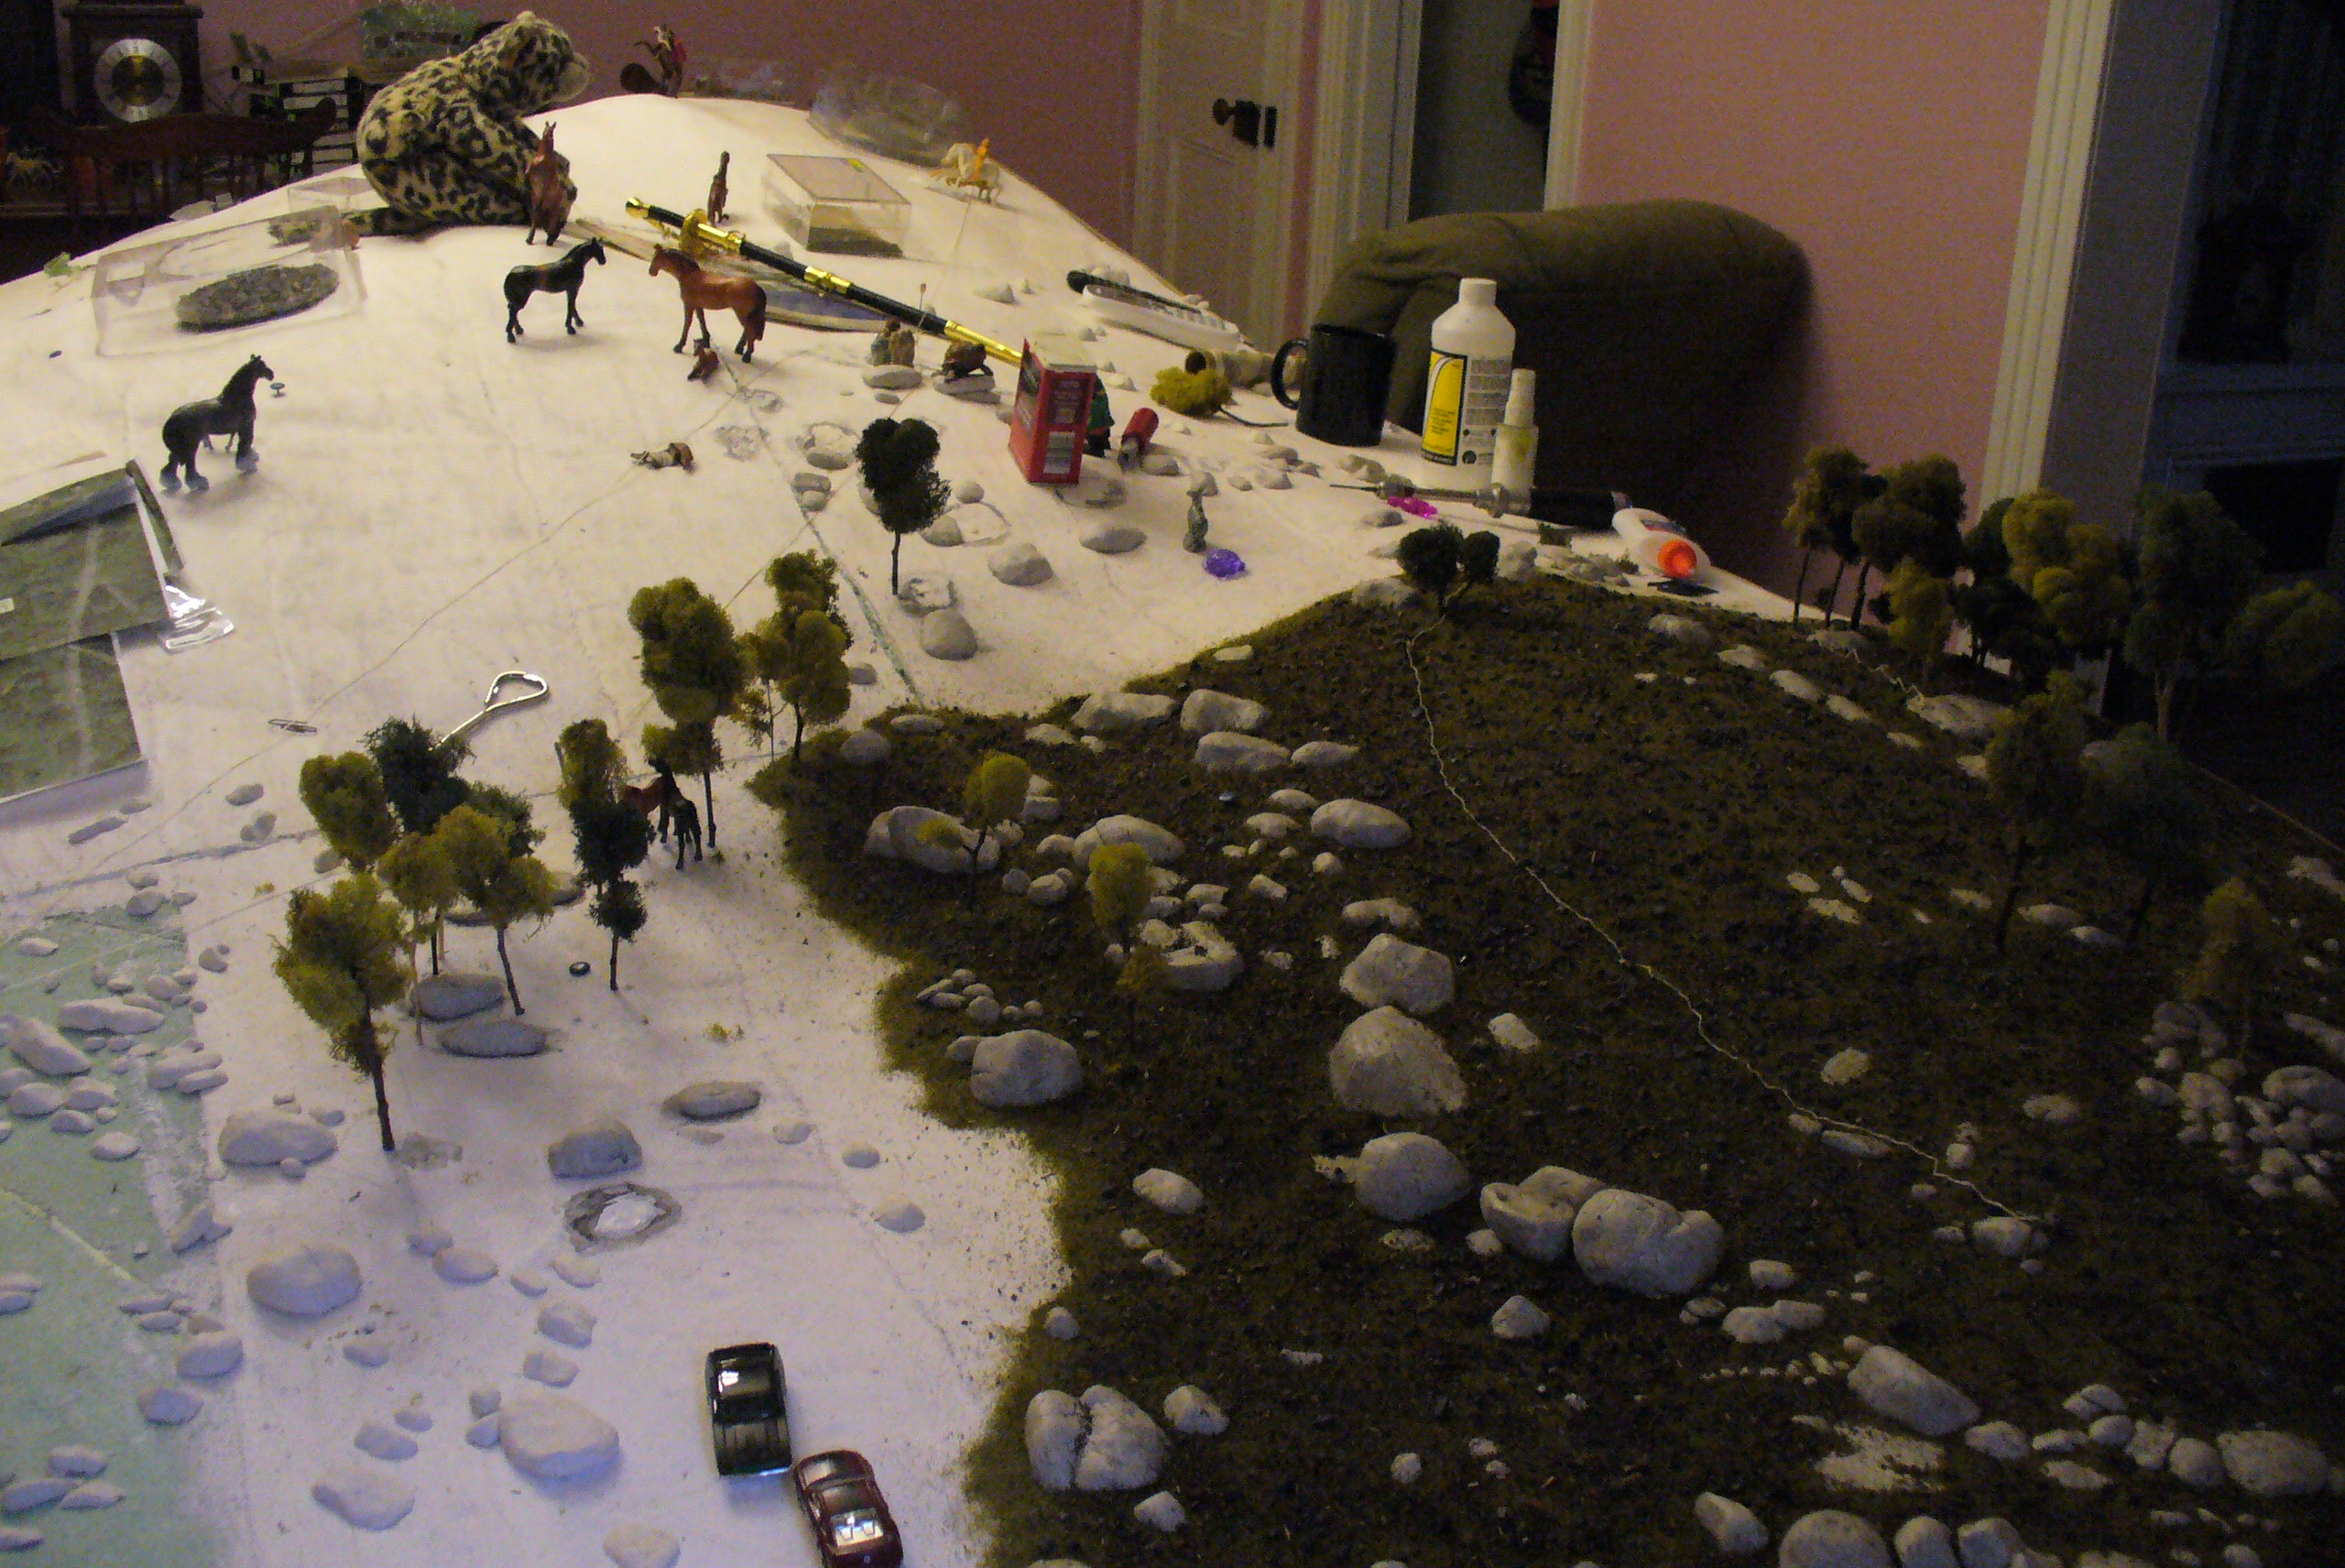
Trees are made out of reindeer moss glued onto twigs. We use the awl to punch holes in the plaster cloth and insulation, drip some glue into the hole, then push the tree down into the hole. The trees that don’t have grass around them in the photos above were placed by Rebecca based on the old photographs; that’s why they went in before the ground cover.
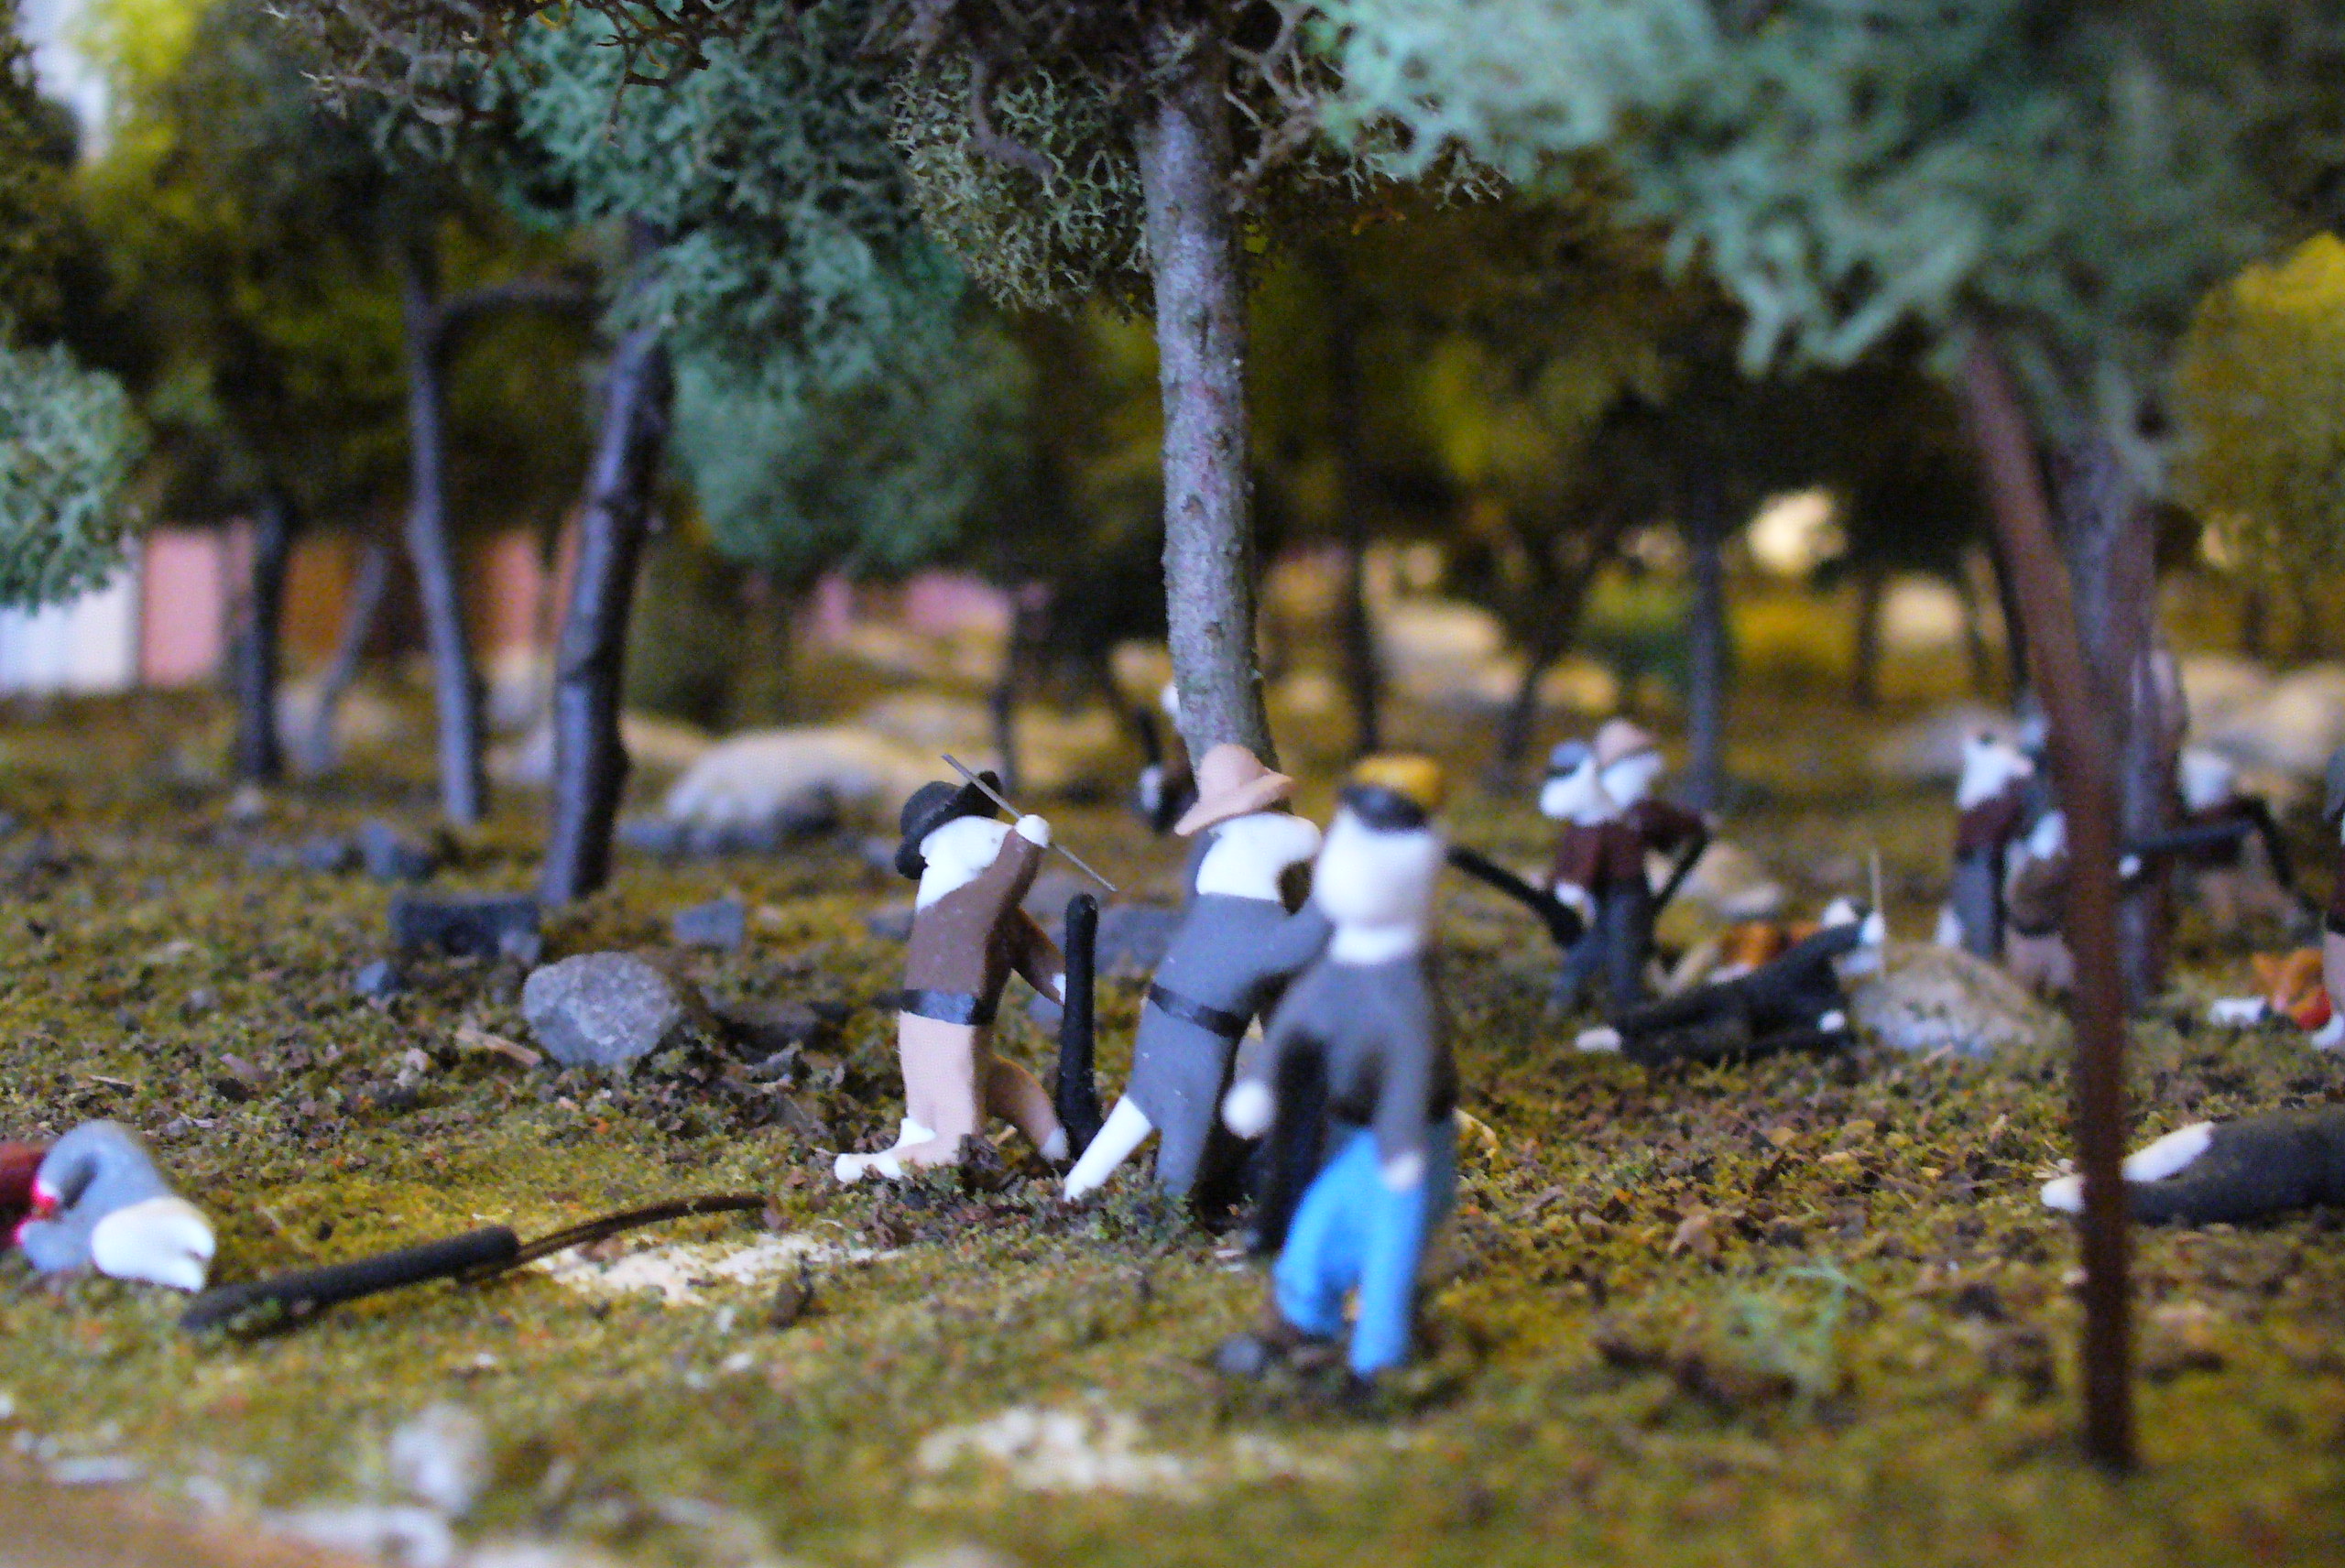
And, of course, we have to make the soldiers, horses, and artillery!

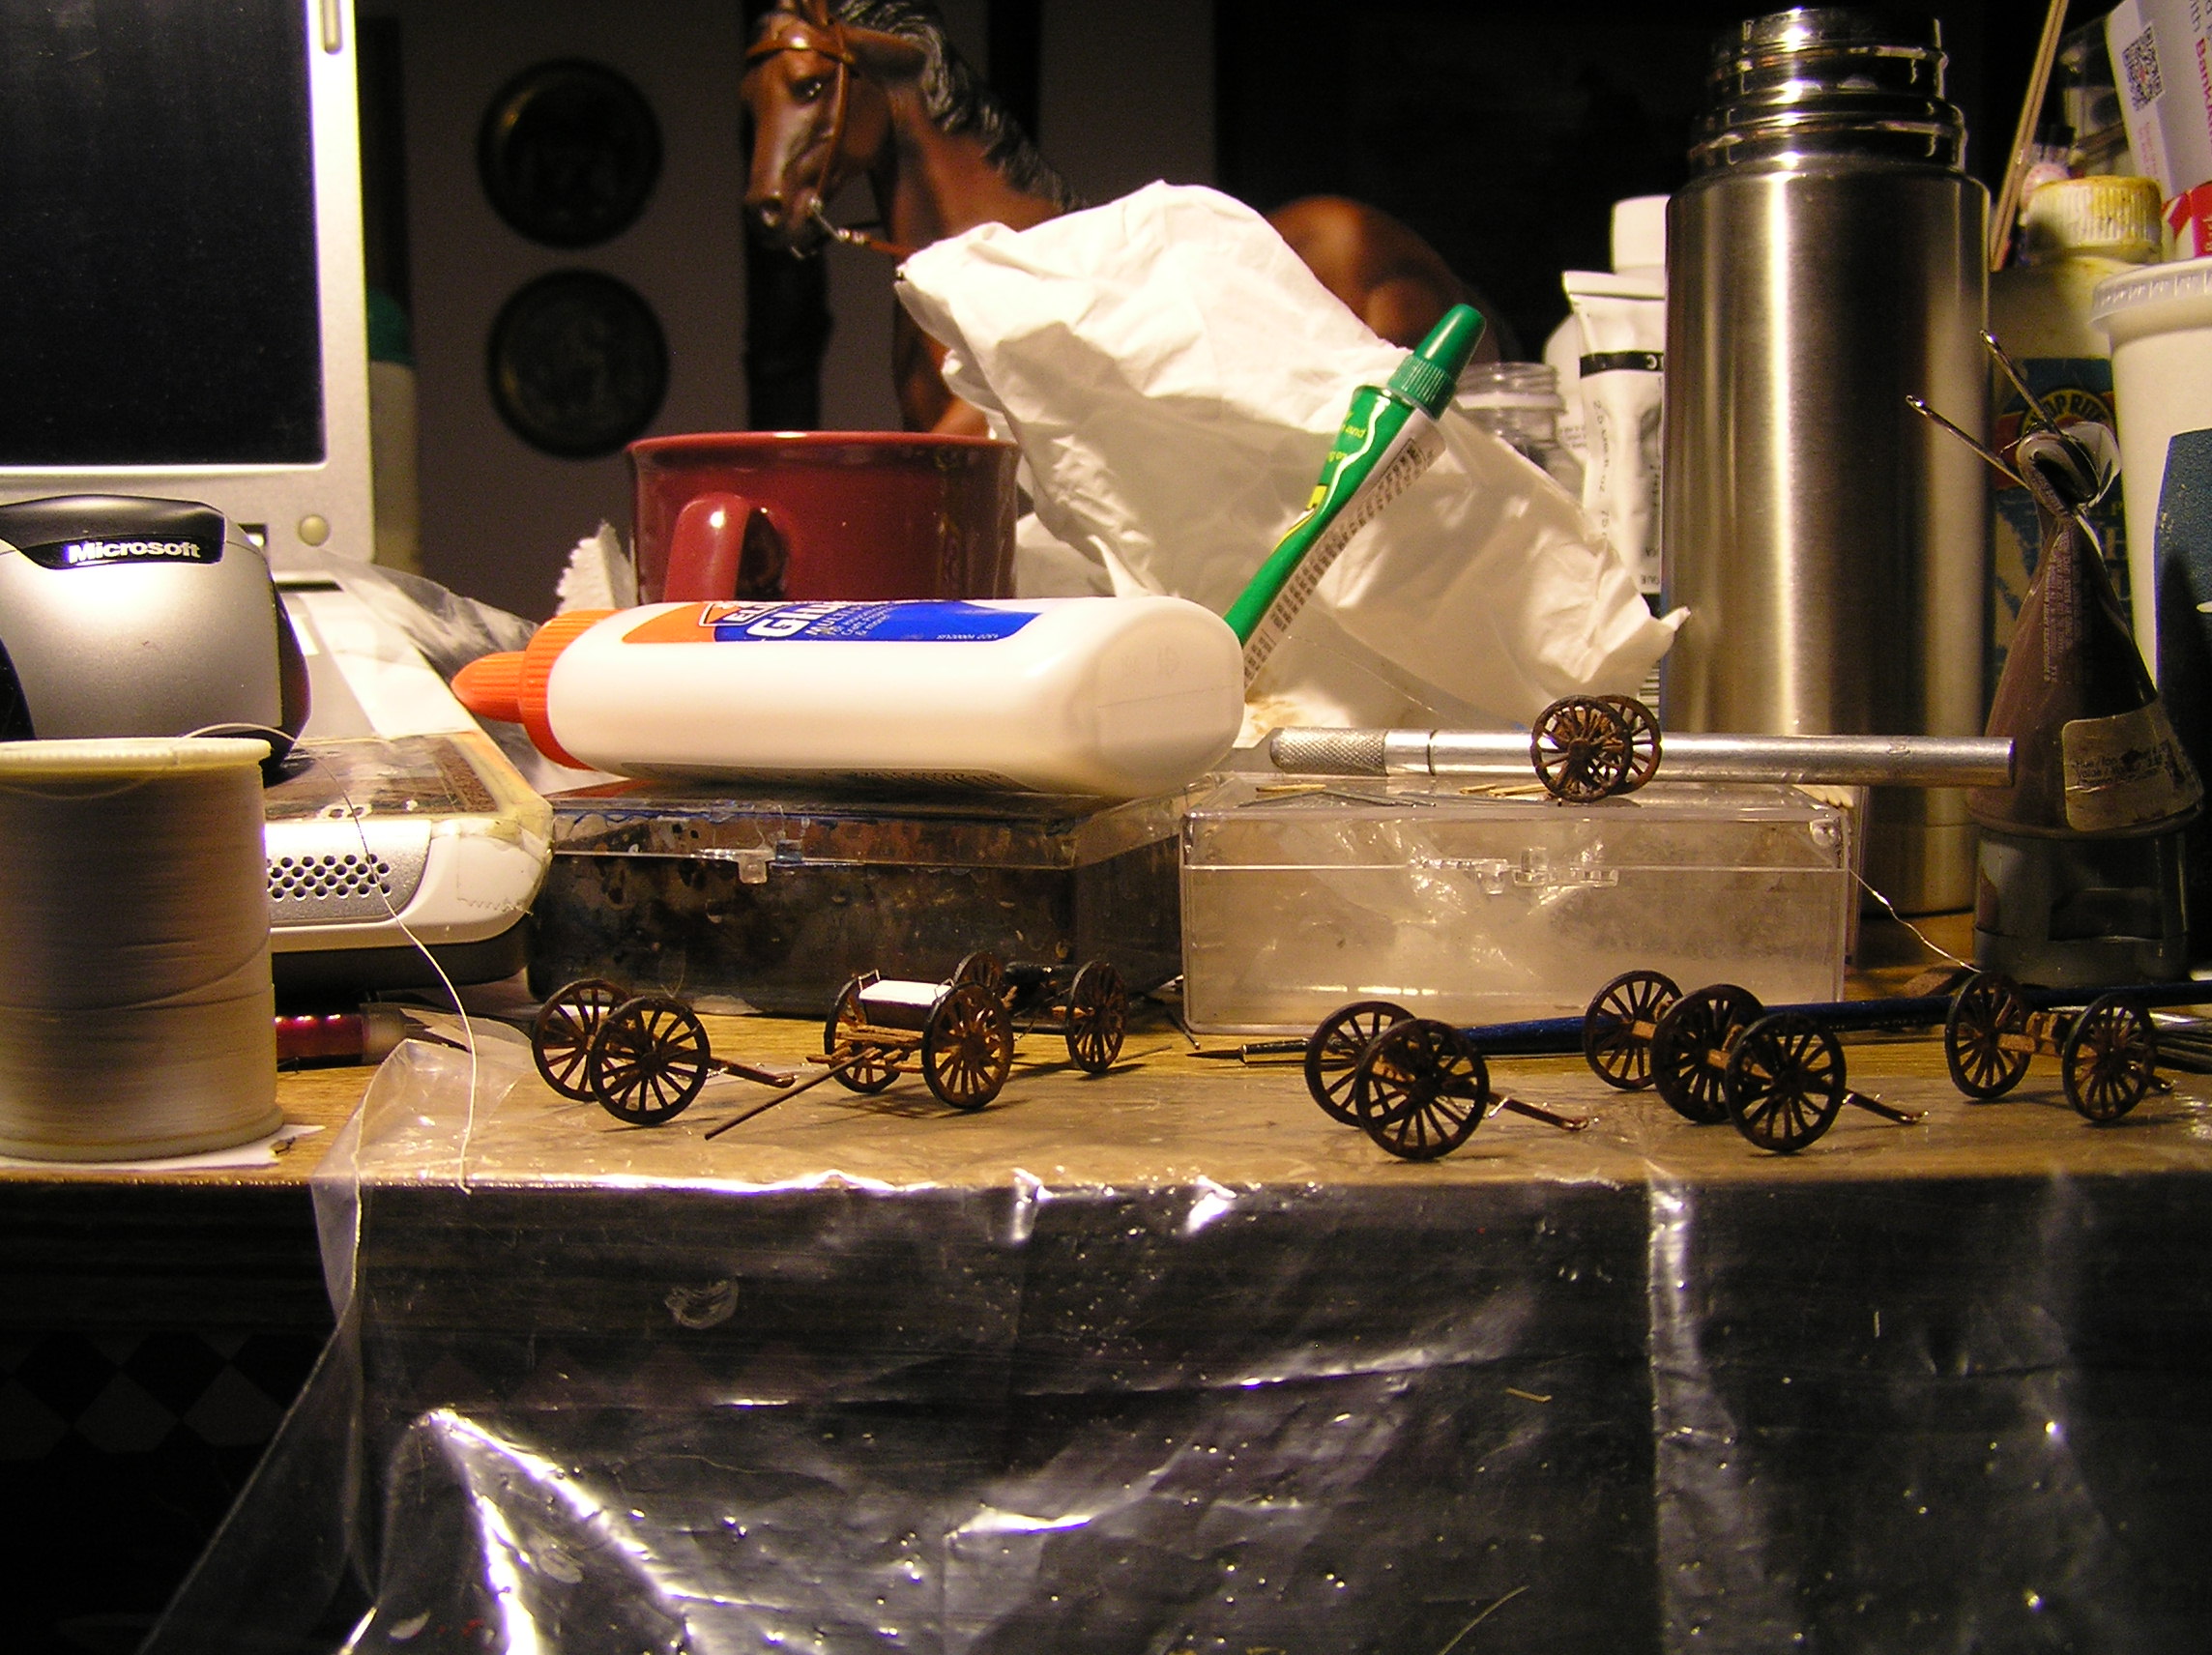
The artillery park! The wheels and cannon barrels are baked and painted Sculpey clay, and the ammunition chests and carriages for the guns and limbers are made of wood.


By the way, do you see how small those pieces are? See the laptop keyboard keys they’re sitting on? For this diorama, 1/8 of an inch equals one foot for a cat-soldier.
The final result of all this madness?? Check it out!