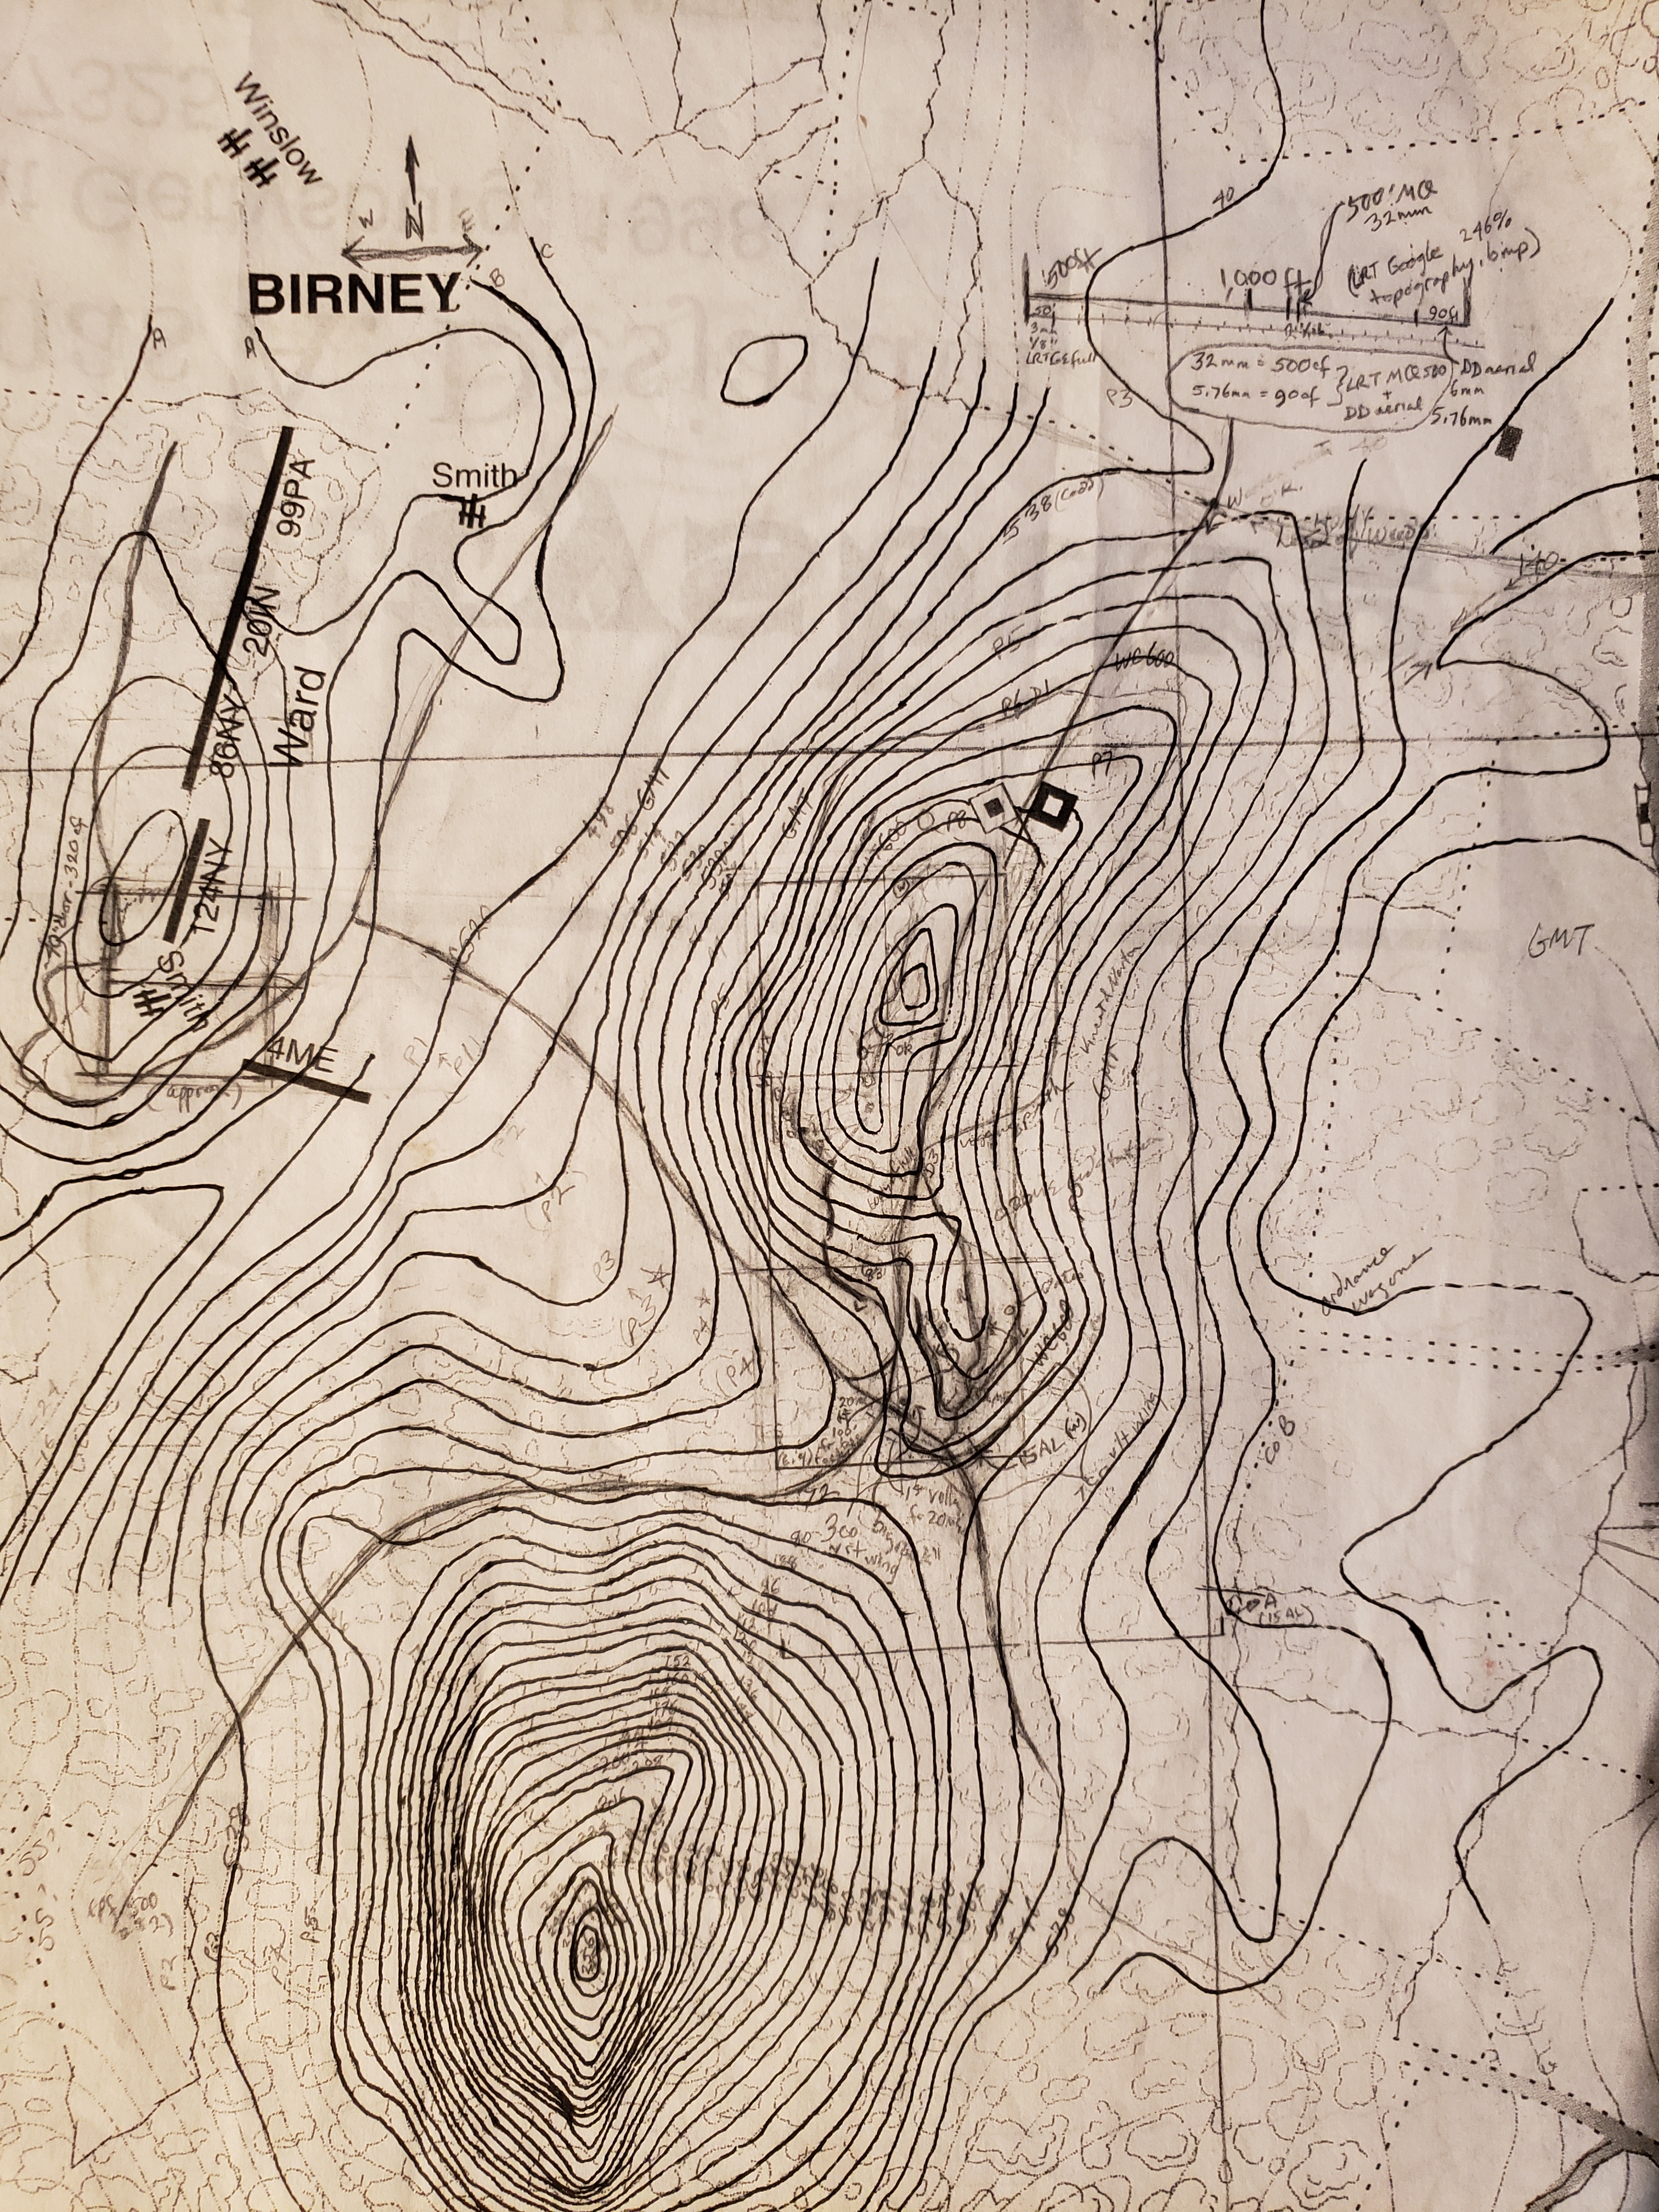
Topography. If the idea of adding specific topographical features to your diorama scares you or you don’t know where to start, this mewsing is for you! Today we explore how to get topography from a map to your diorama.
Sometimes, a diorama’s topography is not specific. You build the landscape however you wish, because it is a world you have made up. But if you want to make a specific area with correct topography, you need a topographical map. These maps show the rise of land by using lines set at a specific interval. For example, the maps that we use for our Gettysburg dioramas show an interval of 8 feet of rise. That means that between each line, the ground rises eight feet. For a steep hill, the lines will be closer together than for a field with a gentle swale. Some maps have 32-ft intervals or 24-ft intervals. We like the set of maps that we have because with 8-ft intervals, it is pretty precise. After all, ground can do a lot of rising and falling between two lines that are 24 feet apart in rise.
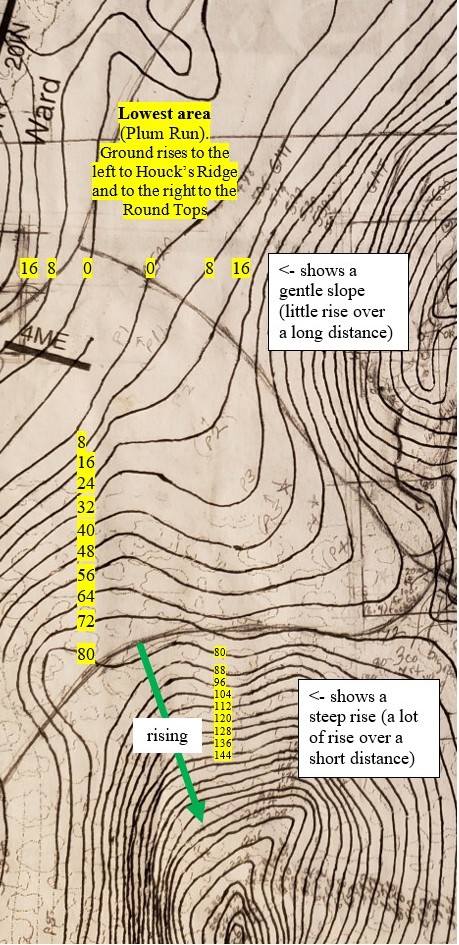
Once you have your map, you need to plan out what section your diorama will show. So, for our Little Round Top diorama, we drew a rectangle of how big the diorama would be. We knew it would be in six sections, so we divided the rectangle accordingly.
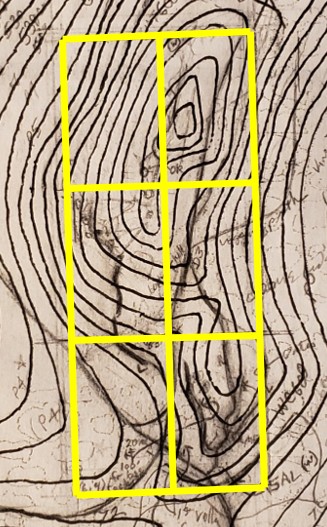
But how do you convert a tiny rectangle into an 11-ft long diorama?
We used a grid system that many people use in their hobbies, careers, and trades. It is an easy way to transfer anything small onto a larger medium, whether a canvas, diorama, or even a massive canvas for a cyclorama (yes, the Gettysburg Cyclorama was painted by projecting a grid onto the canvas so Philippoteaux and his assistants could enlarge his scaled-down version).
Instead of using our Little Round Top map as an example, we will use a simpler drawing to enlarge. However, complicated maps or drawings can be enlarged by dividing each rectangle into smaller ones until the content of each block of the grid is simple.
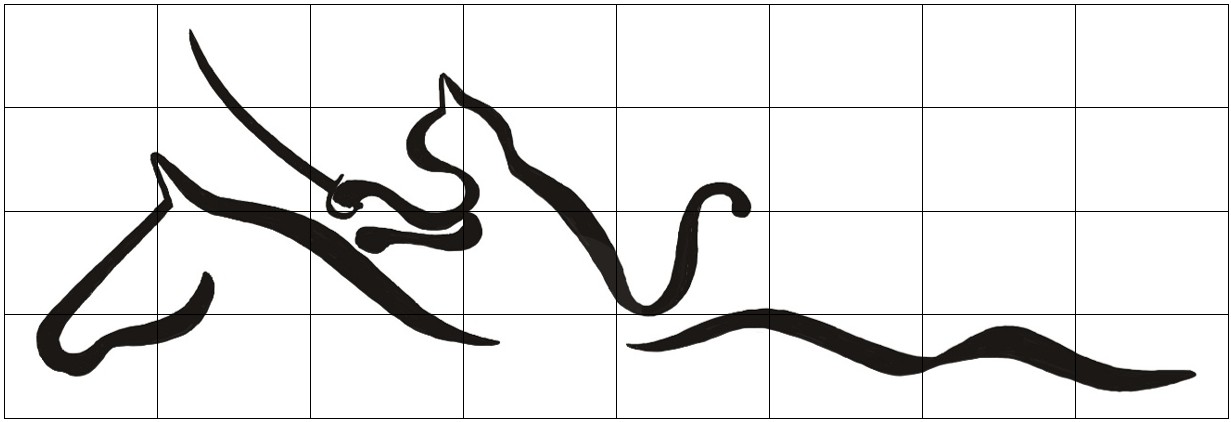
Here is the original we will enlarge:
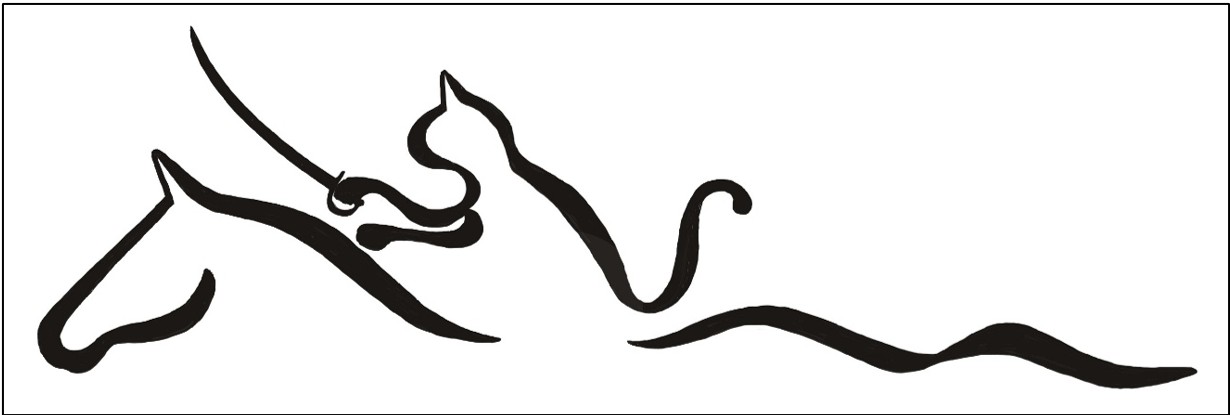
Divide it evenly into blocks. The more blocks, the easier it will be to enlarge accurately:
Let’s focus on a particular area:
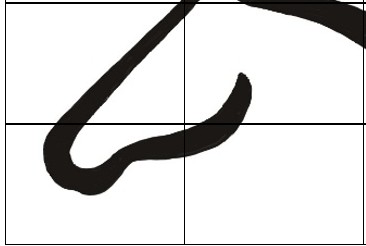
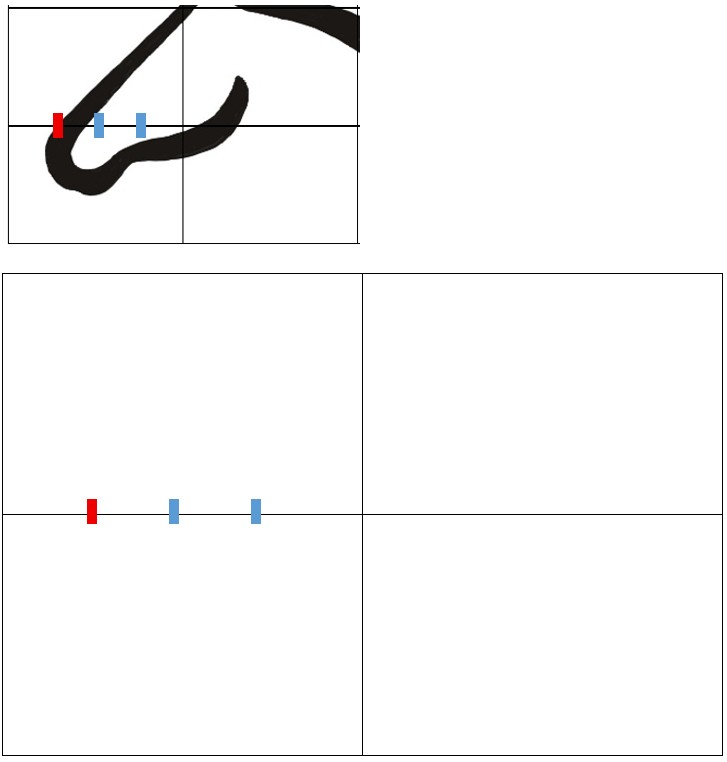
The way to enlarge a picture is to mark where each line crosses the grid. Then, on your full-size grid (such as the canvas or section of the diorama), you make a corresponding mark. So, on our section of the Civil War Tails logo, the horse’s nose crosses the middle gridline approximately one-quarter of the way across. The red mark indicates where it crosses, and the blue marks indicate quarters (obviously, measuring makes it precise. Here, we are eye-balling it). On our big grid, we mark the quarters, with the left-hand mark in red.
We continue by marking where the line meets the upper-right corner of the grid box we’re focusing on.
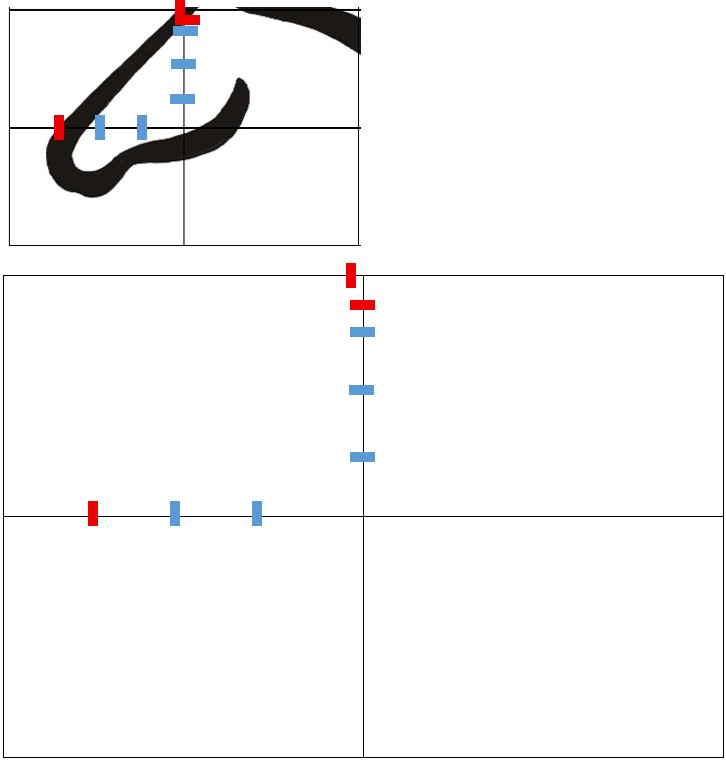
And marking the inside of the nose line.
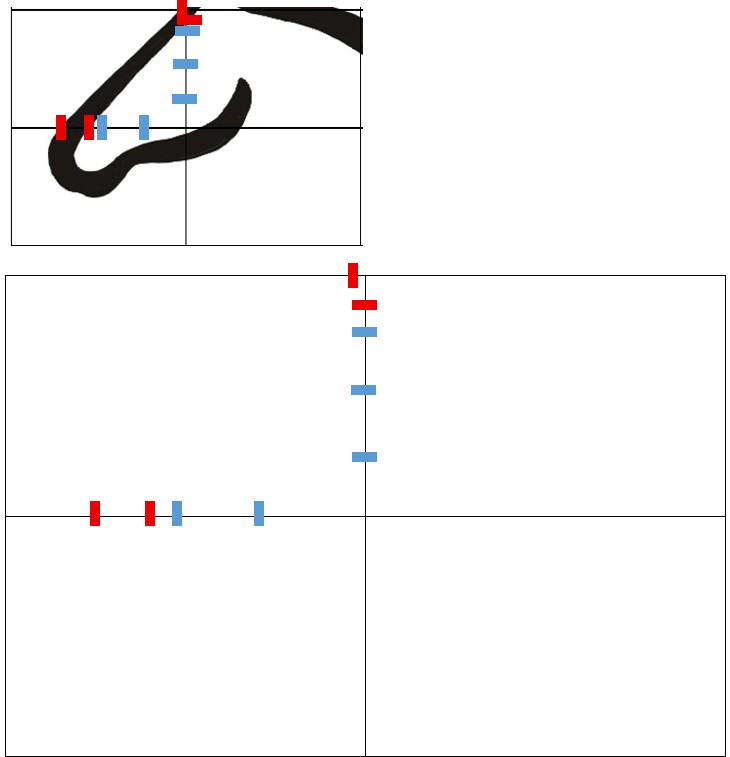
Now we connect the dots.
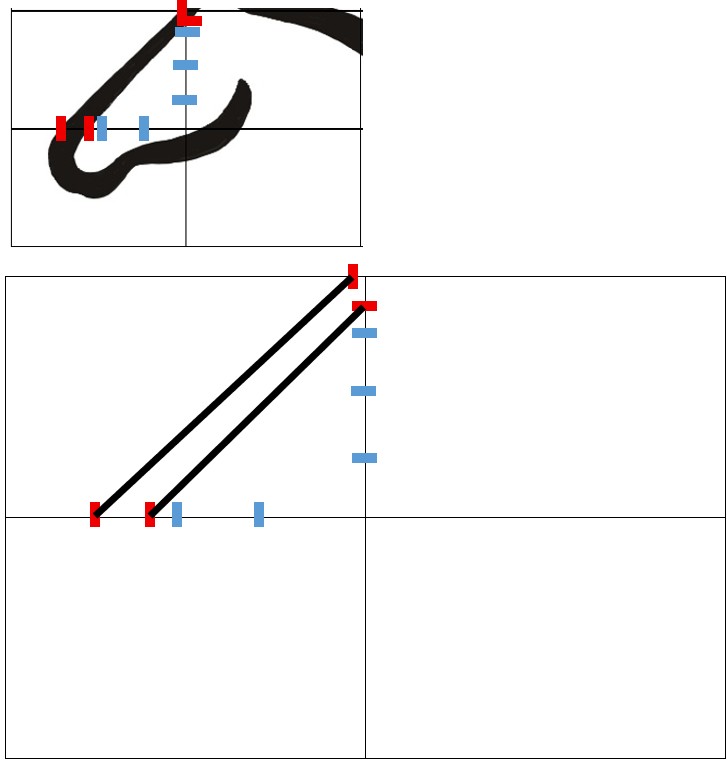
Then we proceed to do the other lines. We won’t do the mid-block curves of the nose itself here, but you can see how we can place marks in the middle of the grid blocks, by measuring over and down to a particular point.
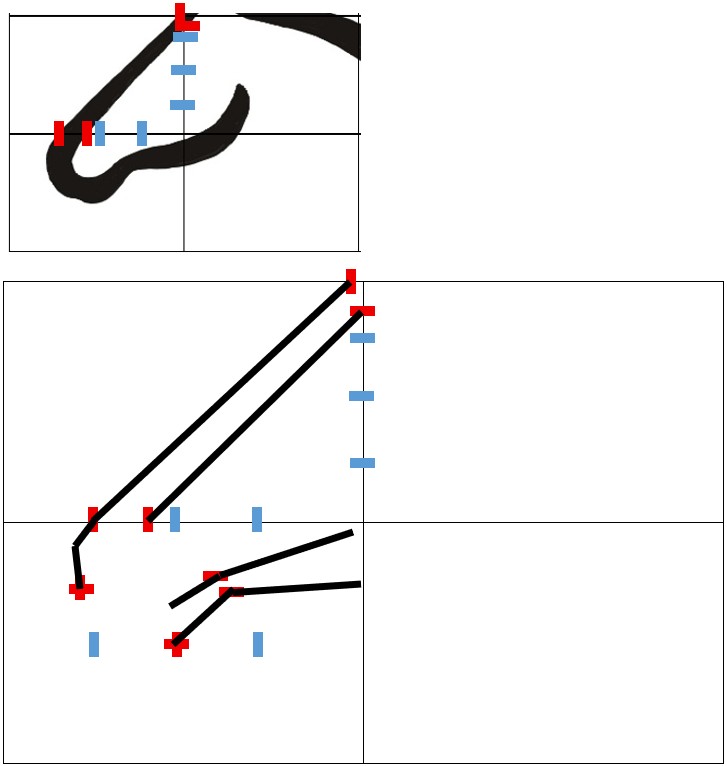
Where it’s a curve, you can eyeball the curve until it looks right. The nice thing about topography is that each of your hand-drawn lines don’t have to be particularly precise. If you were enlarging a photo of a face, you would want precision so the result looks good. With a diorama, you’ll be sloping the material that you use for topography anyway, so slight variations don’t matter.

Since we’re working on a computer with layers for our example, let’s see how our sample came out, compared to the original.
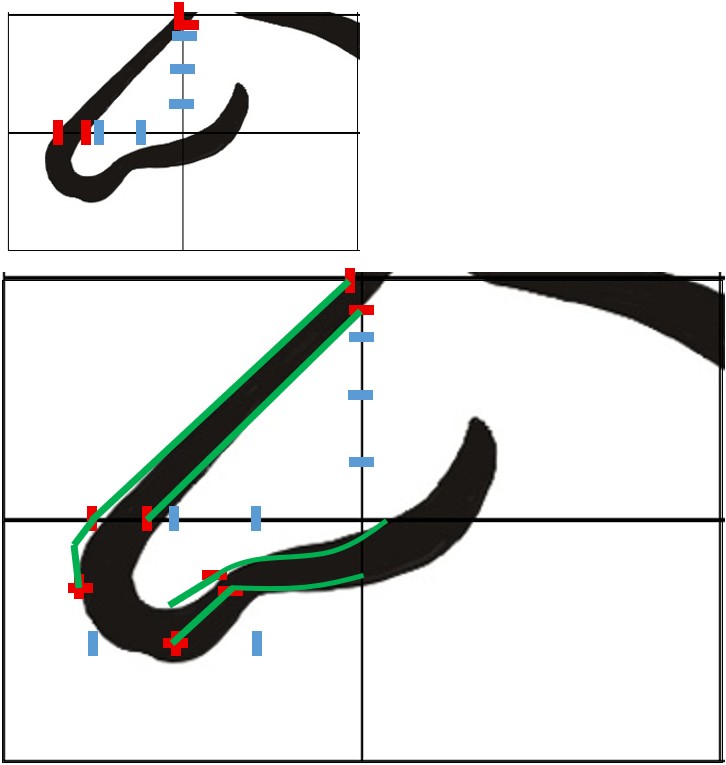
Pretty close! Of course, we were just eye-balling it. If we had been measuring with a ruler, it would be much more precise.
And that’s all there is to it!


Amazing! You ladies have the patience of saints! Very interesting!
LikeLike